
How to Add an Appointment Booking System to WordPress (Step-by-Step Guide)
Recent Posts
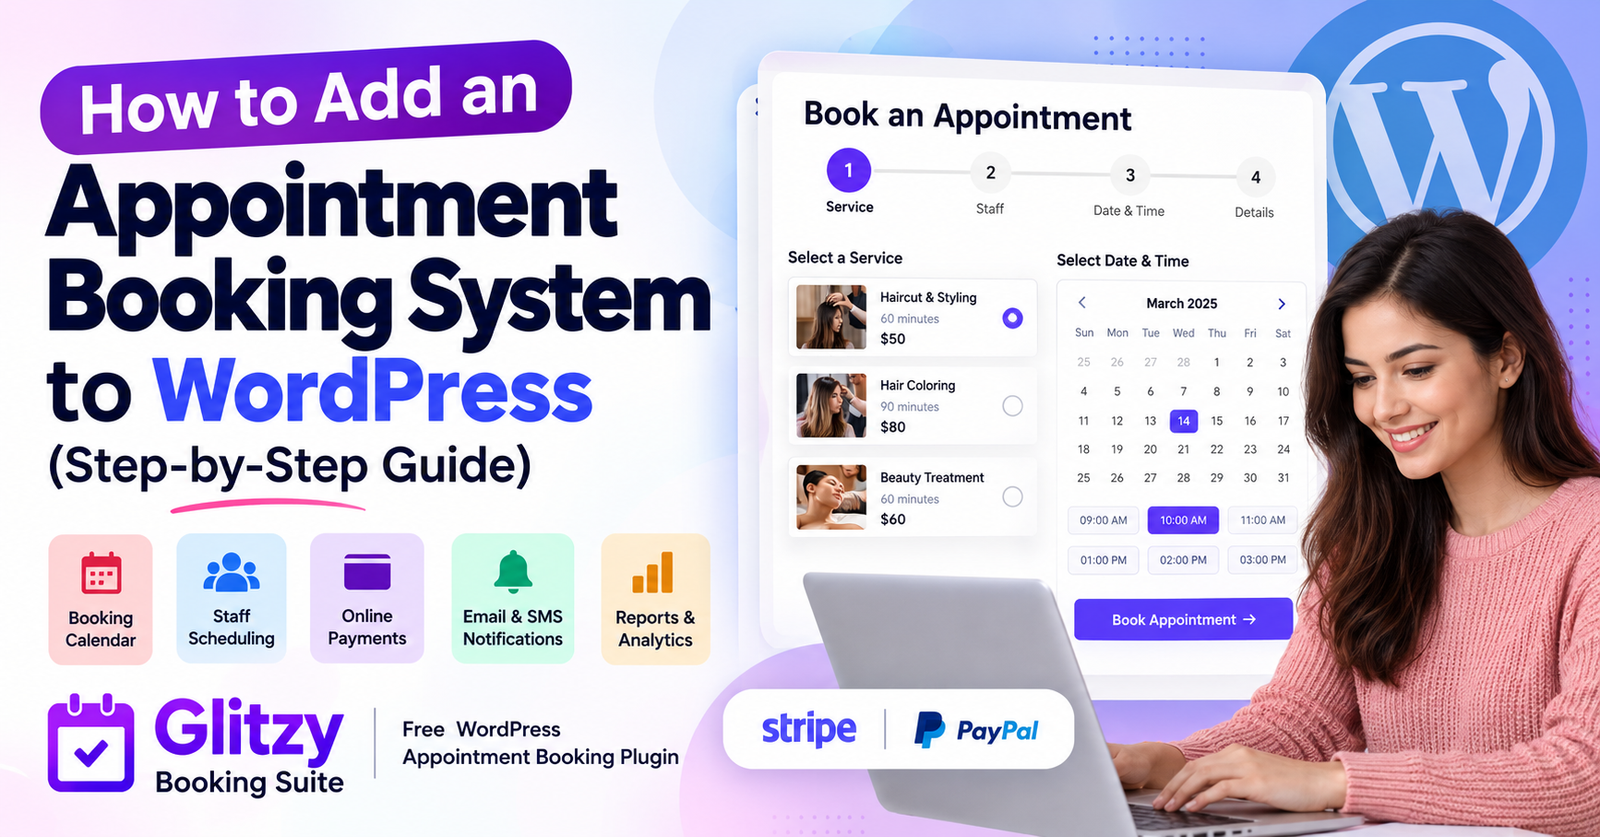
Are you looking for an easy way to add an appointment booking system to your WordPress website?
Whether you run a salon, consulting business, spa, coaching service, or any appointment-based business, allowing customers to book appointments online can save time and improve the customer experience.
Instead of handling appointment requests through phone calls, emails, or contact forms, you can create a professional WordPress appointment booking system that lets visitors select services, choose available time slots, and schedule appointments directly from your website.
In this step-by-step tutorial, we’ll explain how to add a booking system in WordPress for free using Glitzy Booking Suite, a WordPress appointment scheduling plugin.
By the end of this guide, you’ll know how to install the plugin, configure appointment services, manage staff availability, display a booking form, and prepare your website to accept online appointments.
Why Add an Appointment Booking System to WordPress?
Managing appointments manually can become challenging as your business grows.
Customers may need to contact you during working hours, staff schedules can become difficult to coordinate, and appointment details may be spread across emails, spreadsheets, and calendars.
An online booking system helps streamline this process.
Benefits of Online Appointment Booking
1. Accept bookings at any time
Customers can request or schedule appointments through your website without needing to call your business.
2. Reduce manual administration
An automated booking process reduces the amount of time spent recording appointments and communicating available time slots.
3. Improve customer convenience
Visitors can browse your services, review available appointment times, and choose a suitable booking option.
4. Organize staff schedules
Businesses with multiple employees can manage staff availability and service assignments from a centralized system.
5. Support online payments
A booking system with payment integration can allow customers to pay for appointments during the booking process.
6. Create a professional booking experience
A dedicated appointment form provides a more structured experience than a general contact form.
What Do You Need to Create a WordPress Booking System?
Before setting up your booking system, make sure you have the following:
- A working WordPress website
- Administrator access to your WordPress dashboard
- An appointment booking plugin
- A list of services you want customers to book
- Your business working hours
- Staff availability information, if applicable
- Payment gateway credentials, if you plan to accept online payments
You do not need to build a custom booking application from scratch.
A WordPress booking plugin can provide the essential functionality through a dashboard interface.
Step 1: Choose a WordPress Appointment Booking Plugin
The first step is selecting a plugin that supports your business requirements.
Depending on your services, you may need features such as:
- Appointment booking forms
- Booking calendars
- Multiple services
- Staff scheduling
- Customer management
- Booking notifications
- Recurring appointments
- Online payments
- Calendar integrations
For this tutorial, we’ll use Glitzy Booking Suite.
Introducing Glitzy Booking Suite
Glitzy Booking Suite is a free WordPress appointment booking plugin designed to simplify appointment scheduling and management.
It provides tools for creating appointment services, configuring staff availability, accepting customer bookings, and managing appointments through WordPress.
The plugin also supports optional integrations for online payments, notifications, and calendar management.
To explore its features in more detail, visit our Glitzy Booking Suite WordPress appointment booking plugin guide.
You can also download Glitzy Booking Suite from WordPress.org.
Step 2: Install Glitzy Booking Suite in WordPress
Installing the plugin is similar to installing any other WordPress plugin.
Installation Instructions
- Log in to your WordPress administrator dashboard.
- Navigate to Plugins → Add New Plugin.
- Enter Glitzy Booking Suite in the plugin search field.
- Find the plugin in the search results.
- Click Install Now.
- After installation, click Activate.
Once activated, the plugin’s booking management menu should appear in your WordPress dashboard.
You can now begin configuring your appointment booking system.
Tip: Before installing any new plugin on a live website, create a backup and check compatibility with your current WordPress environment.
Step 3: Configure Your Appointment Booking Settings
After activating Glitzy Booking Suite, open its settings from the WordPress dashboard.
Review the available configuration options and adjust them according to your business requirements.
Depending on the plugin settings, you may need to configure:
- Business information
- Booking preferences
- Appointment duration
- Date and time settings
- Customer notifications
- Payment preferences
- Calendar integration settings
Example: Beauty Salon Booking Configuration
Suppose you operate a beauty salon.
You may offer appointments from Monday to Saturday, with different staff members available during specific working hours.
Your booking system should reflect those operating schedules so customers can select appropriate appointments.
Take time to review the available settings before publishing your booking form.
Step 4: Add Appointment Services
The next step is creating the services customers can book.
For example, a salon may offer haircuts, hair coloring, styling, and beauty treatments.
A consulting business may offer introductory consultations, strategy sessions, and follow-up appointments.
Example Service Configuration
| Service | Duration | Example Price |
|---|---|---|
| Initial Consultation | 30 minutes | $25 |
| Standard Appointment | 60 minutes | $50 |
| Extended Consultation | 90 minutes | $75 |
| Follow-Up Session | 30 minutes | $20 |
These are illustrative prices and durations, not default plugin settings.
How to Add Services
- Open the services section in Glitzy Booking Suite.
- Create a new appointment service.
- Enter the service name and description.
- Configure the appointment duration.
- Set the service price, if applicable.
- Assign available staff members where required.
- Save the service.
Repeat these steps for the different services your business offers.
SEO tip: Use clear service names and descriptions on your website. This helps visitors understand what they are booking and can also improve the relevance of your service pages in search results.
Step 5: Configure Staff Availability
If your business has multiple employees, staff scheduling is an important part of appointment management.
Glitzy Booking Suite includes staff management functionality for organizing employee availability and service assignments.
How to Set Up Staff Scheduling
- Open the staff management section.
- Add a staff member.
- Enter the relevant staff information.
- Assign the services they provide.
- Configure their available working hours.
- Save the staff profile.
For example, a salon may have three stylists with different schedules.
By configuring staff availability, customers can select suitable appointment options based on the services and staff members available.
Why Staff Scheduling Matters
A properly configured schedule can help:
- Reduce conflicting appointment requests
- Organize employee workloads
- Display relevant booking availability
- Improve appointment management
- Create a more convenient customer experience
Before launching, test appointments across different staff members and working hours.
Step 6: Create a WordPress Appointment Booking Page
Now that your services and staff schedules are configured, you can add the booking form to your website.
Glitzy Booking Suite provides a shortcode that allows you to display its appointment booking interface on a WordPress page.
Create Your Booking Page
- Navigate to Pages → Add New Page.
- Enter a title such as Book an Appointment.
- Add a Shortcode block.
- Insert the following shortcode:
[glitzy_booking_form]
- Publish the page.
- Open the published page and verify that the booking form appears correctly.
You can also add the booking page to your website’s main navigation menu.
Recommended Booking Page URL
yourwebsite.com/book-an-appointment/
A dedicated booking page makes it easier for visitors to find and use your appointment scheduling system.
What Customers Can Do
The booking form allows visitors to move through the appointment process by selecting a service, choosing available booking options, and entering their contact details.
This creates a more organized booking experience than collecting appointment requests through a standard contact form.
Step 7: Configure Online Appointment Payments
Depending on your business model, you may want customers to pay when booking an appointment.
Glitzy Booking Suite supports optional payment integrations, including Stripe Checkout and PayPal Checkout.
An on-site payment option is also available.
Stripe Payments
Stripe allows businesses to accept supported online payment methods through its payment infrastructure.
To configure Stripe, review the plugin’s payment settings and enter the required Stripe credentials.
Use test credentials and test transactions before enabling live payments.
PayPal Payments
PayPal provides another online payment option for customers.
If you want to accept PayPal payments, configure the appropriate integration settings and test the checkout process.
On-Site Payments
Some businesses prefer to collect payments when customers arrive.
The on-site payment option can be useful for businesses that do not require advance payment.
Important: Payment gateway availability, supported currencies, and transaction fees depend on the provider, country, account eligibility, and configuration.
Step 8: Configure Booking Notifications
Appointment notifications help businesses and customers stay informed.
Glitzy Booking Suite supports customer booking confirmation emails and administrator notifications.
Optional Twilio integration can also provide SMS notifications when configured.
Recommended Notification Information
Your booking confirmation should clearly communicate:
- Business name
- Customer name
- Selected service
- Appointment date
- Appointment time
- Booking reference, where available
- Relevant contact information
Before accepting live appointments, submit a test booking and confirm that notification emails reach the intended recipients.
For reliable WordPress email delivery, you may also need a properly configured transactional email or SMTP service.
Step 9: Connect Google Calendar (Optional)
If you use Google Calendar to manage your daily schedule, you may want to connect it to your appointment booking system.
Glitzy Booking Suite supports an optional Google Calendar integration for creating calendar events from confirmed bookings.
Why Use Calendar Integration?
Google Calendar integration can help you:
- Organize appointments alongside other scheduled activities
- View booking events in a familiar calendar interface
- Keep track of upcoming customer appointments
- Simplify daily schedule management
Follow the plugin’s integration settings to configure the required Google credentials and permissions.
After connecting, create a test appointment to verify that the expected calendar event is generated.
Step 10: Test Your WordPress Booking System
Before launching your booking page publicly, perform a complete test.
Appointment Booking Testing Checklist
-
Booking form displays correctly on desktop.
-
Booking form works on mobile devices.
-
All configured services appear.
-
Appointment durations and prices are correct.
-
Staff availability is displayed correctly.
-
Customers can select available appointment times.
-
Booking submissions are recorded.
-
Customer confirmation emails are delivered.
-
Administrator notifications work.
-
Online payment transactions work, if enabled.
-
Google Calendar integration works, if configured.
-
Booking page loads without JavaScript errors.
Testing helps identify configuration issues before real customers start making appointments.
Best Practices for a WordPress Appointment Booking Website
Installing a booking plugin is only one part of creating a successful appointment booking experience.
Follow these best practices to make your booking system more useful.
Keep the Booking Process Simple
Avoid asking customers for unnecessary information.
Only collect details required to schedule and manage their appointments.
Make Your Booking Button Easy to Find
Add a clear Book Now or Book an Appointment button to important website pages.
You can place booking links in your navigation, service pages, and homepage.
Optimize Your Booking Page for Mobile
Many visitors browse websites on mobile devices.
Make sure the booking form is readable, responsive, and easy to complete on smaller screens.
Display Clear Service Information
Include service names, descriptions, durations, and pricing where appropriate.
Customers should understand what they are booking before confirming an appointment.
Protect Customer Information
Use HTTPS, maintain WordPress security updates, and follow applicable privacy and data protection requirements.
Collect only the customer information needed for the booking process.
Review Your Booking Schedule Regularly
Keep staff availability and service information updated to avoid confusing customers with outdated appointment options.
Frequently Asked Questions
Can I add a booking system to WordPress for free?
Yes. You can use a free WordPress appointment booking plugin such as Glitzy Booking Suite to create an online appointment scheduling system without developing a custom application.
Do I need coding skills to create an appointment booking page?
No. Glitzy Booking Suite provides a shortcode that you can insert into a WordPress page using the Shortcode block.
Can customers choose their appointment date and time?
Yes. Customers can select available appointment dates and times through the frontend booking form, based on the configured services and availability.
Can I accept online payments for WordPress appointments?
Yes. Glitzy Booking Suite supports optional Stripe and PayPal payment integrations.
Can I manage multiple employees?
Yes. The plugin provides staff management and availability settings for businesses with multiple service providers.
Can I create recurring appointments?
Yes. Glitzy Booking Suite supports recurring appointment functionality for businesses that offer repeat services.
Is Glitzy Booking Suite suitable for salons and consulting businesses?
Yes. The plugin can be used for a variety of appointment-based businesses, including salons, spas, consultants, coaches, and other service providers.
Can I add a booking system to an existing WordPress website?
Yes. You can install the plugin on an existing WordPress website and create a dedicated booking page without rebuilding the entire site.
Conclusion: Start Accepting Appointments on Your WordPress Website
Adding an appointment booking system to WordPress doesn’t have to be complicated.
With the right plugin, you can allow customers to book services online, manage staff availability, organize appointment schedules, and configure optional payment and notification features.
In this guide, we covered how to install Glitzy Booking Suite, create appointment services, configure staff schedules, display a booking form, set up payments, and test your booking system.
If you’re looking for a free WordPress appointment scheduling solution, Glitzy Booking Suite provides a practical starting point.
Ready to Create Your WordPress Booking System?
Explore the plugin’s features and start building your appointment booking experience today.
Download Glitzy Booking Suite Free on WordPress.org
For a complete overview of its features, integrations, and capabilities, read our Glitzy Booking Suite WordPress Appointment Booking Plugin Guide.
Developed by WP Craft Engineer.